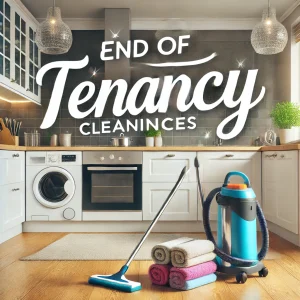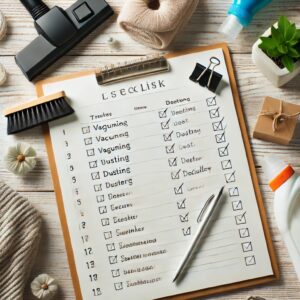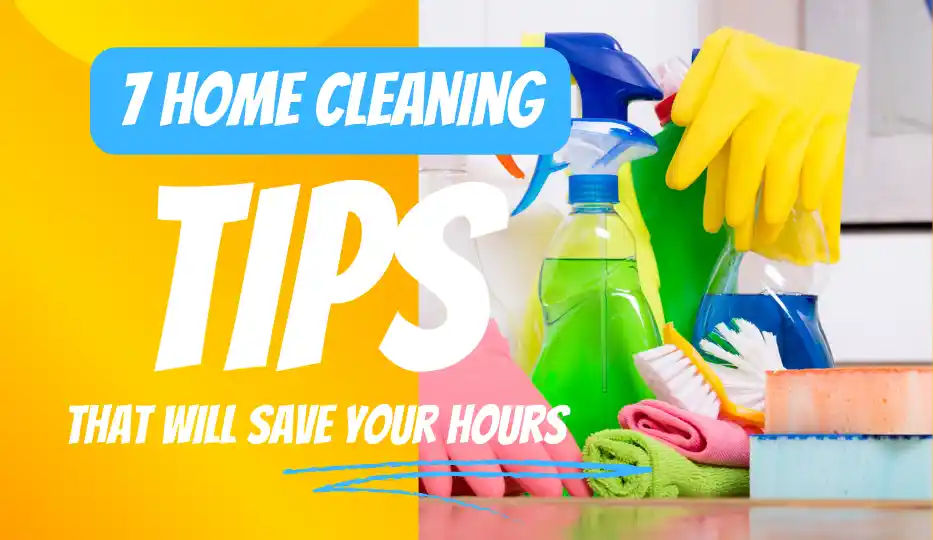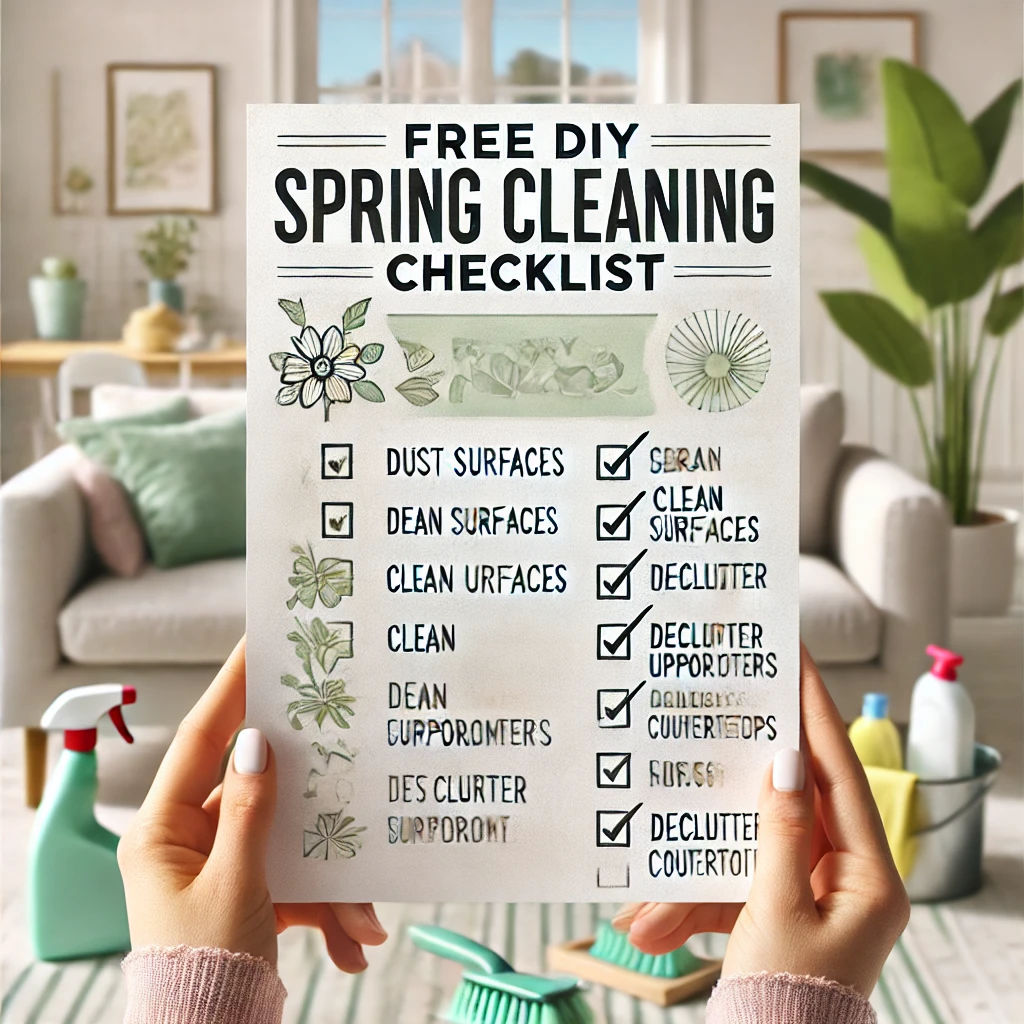
Free DIY Spring Cleaning Checklist 2024
Free DIY Spring Cleaning
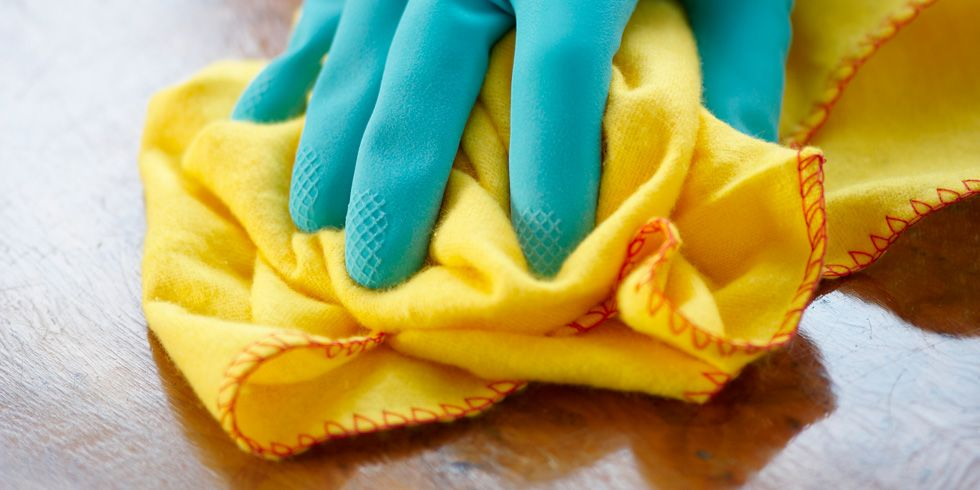
It’s time for one of the most expected tasks of the year spring cleaning. And if you are going to do it yourself, we have good news, a free DIY spring cleaning checklist awaits you below. We’ll teach you how to go through each room with minimum costs and the necessity of expensive services.
With a step-by-step spring cleaning checklist, you can make your space fresh, organized, and allergen-free in no time. This guide covers every room and provides tips for an easy, efficient spring clean.
Why Spring Cleaning Is Important
Spring cleaning is not just a tradition. It is an excellent way to give your home a deep clean after it has been sealed up for months of the cold season with little fresh air circulating through it. Some reasons why spring cleaning can be very helpful include:
- Remove allergens: A spring clean gets rid of dust, pet dander, and pollen in your house.
- Clean out your house: Through all the things you don’t need, you end up having space for the freshness spring brings.
- It makes mental health better: A clean, organized space affects mood and even brain clarity.
That being said, let’s begin with this DIY spring cleaning list so you can get a clean home within no time.
DIY Spring Cleaning List: Room-by-Room Guide
-
Living Room
We spend a lot of time relaxing in the living room, so it has to be well-aerated and cleaned properly.

- Dust surfaces using a microfiber cloth on shelves, electronics, picture frames, and ornaments
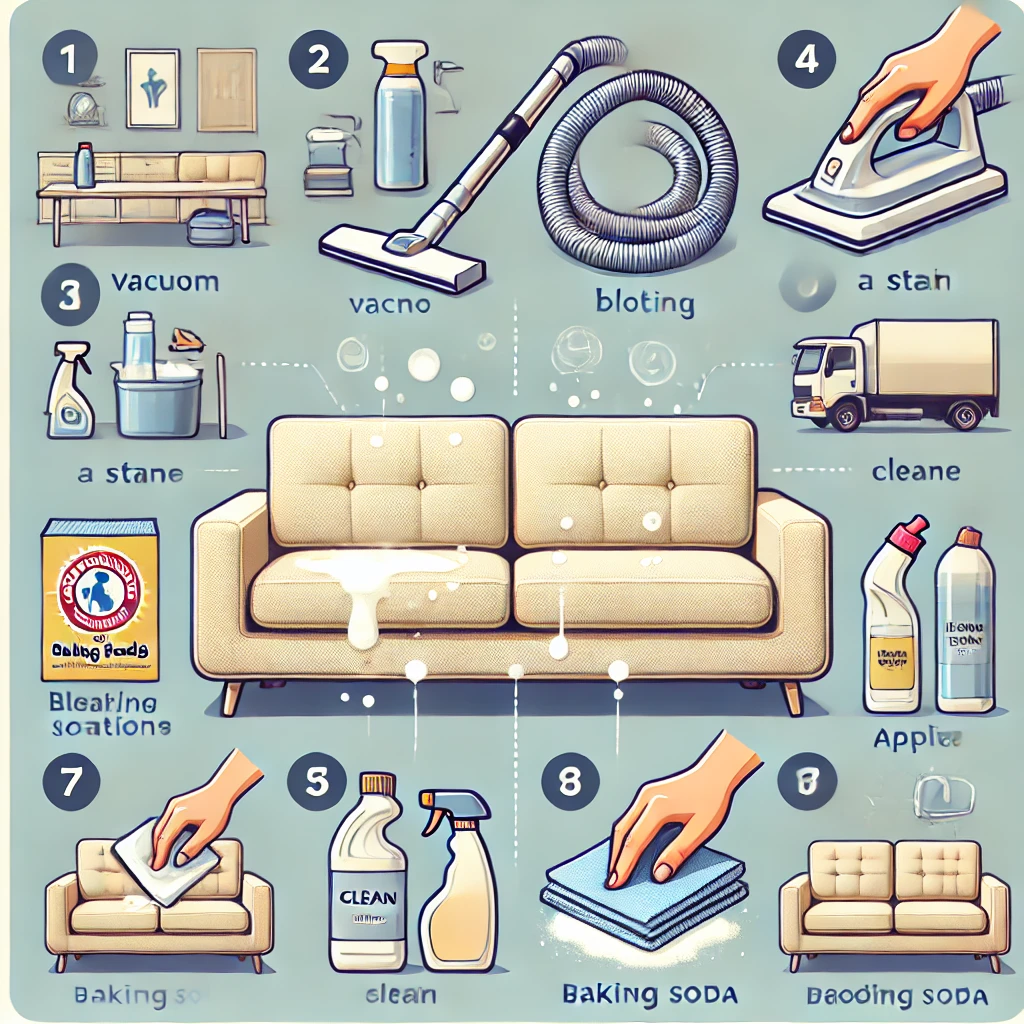
- Upholstery cleaning: If you want a total deep clean of sofas, chairs, and all that, you may use a vacuum. Meanwhile, if there are stains, clean them up with upholstery cleaner.
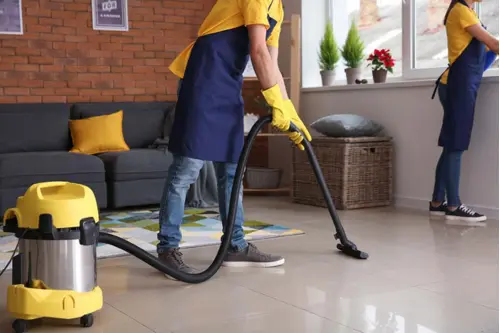
- All carpets and rugs shall be vacuumed. Roll out rugs to vacuum beneath them, and for a few deep cleans, rent a carpet cleaner.
- Windows and sills should be cleaned. Apply vinegar and water dilution for perfect, streak-free glass.
- Wood surfaces will be polished with safe, natural wood polish or even olive oil, on tables, chairs, and shelving units.
- All shelves and tables are to be cleaned or cleared. Make sure to remove unnecessary things that you hardly use.
-
Kitchen
One of the rooms that will need maximum attention during spring cleaning is the kitchen.

- Clear countertops: Only display the most needed appliances and items. Store the rest in cabinets to leave an open and cleaner view.
- Clean the appliances: Wipe the outside of the fridge, microwave, and dishwasher with a mild cleanser. Flush away any hard stains inside with a baking soda and water solution.
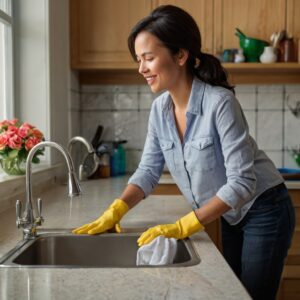
- Clean sinks and faucets: Scrub away the stains and water spots using baking soda and vinegar.
- Clean the pantry: Remove all expired goods and further categorize the remaining items kept in the pantry.
- Reduce grease in cabinets and backsplash: Use a combination of dish soap and warm water to scrub off the grease and grime.
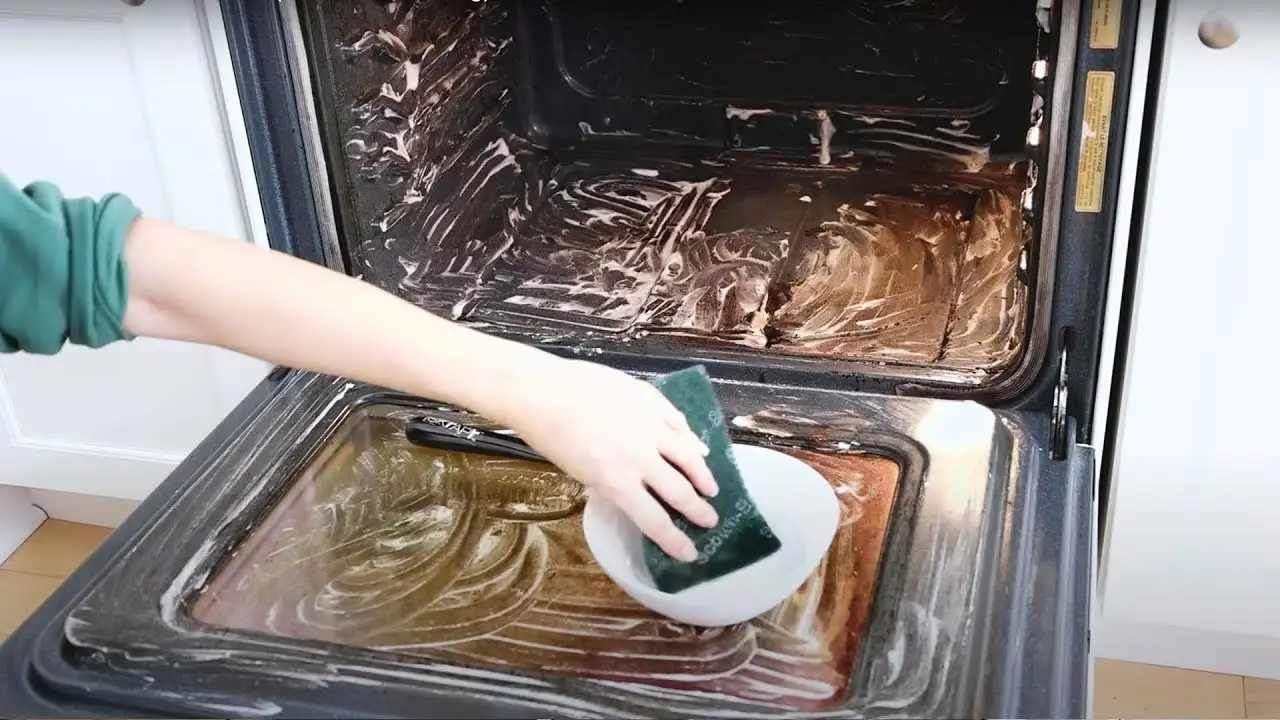
- Clean the oven: Remove the oven racks and soak in soapy water. Then, scrub the interior of the oven with a paste made from baking soda and water applied all over.
-
Bathrooms
Bathrooms are a high-breeding place for mold and grime, so a deep clean is the way to go.

- Scrub the grout and tiles: Mix baking soda paste to scrub the grout; focus around the shower.
- Clean the mirrors and glass: You can use vinegar and water to clean the mirrors and glass in your shower
- Wipe down your countertops and cabinets: You could use a disinfecting wipe or a DIY cleaner of your choice.
- Descaling the shower heads: Dip the shower head in vinegar for 30 minutes. Then, remove scum built-up limescale.
- Bathing mats and towels: These are the primary places dust and germs tend to collect during bathing. So, hot wash them frequently.
- Clean the toilet and sinks: Using bleach-based toilet cleaner and vinegar solution-based cleanser for your sinks.
-
Bedrooms
Having a room that allows people to sleep peacefully would be wonderful and at the same time improves the quality of sleeping. Here are a few things you can do in the bedroom.

- Declutter closets: Sort through your clothes and give away anything you haven’t worn within the last year.
- Flip or rotate mattress: Keep your mattress longer and feel more comfortable by rotating it.
- Do bed linens: Wash comforters, sheets, and pillowcases in hot water to get rid of dust mites.
- Dust and dust surfaces: Dust shelves, nightstands, and dressers using a microfiber cloth.
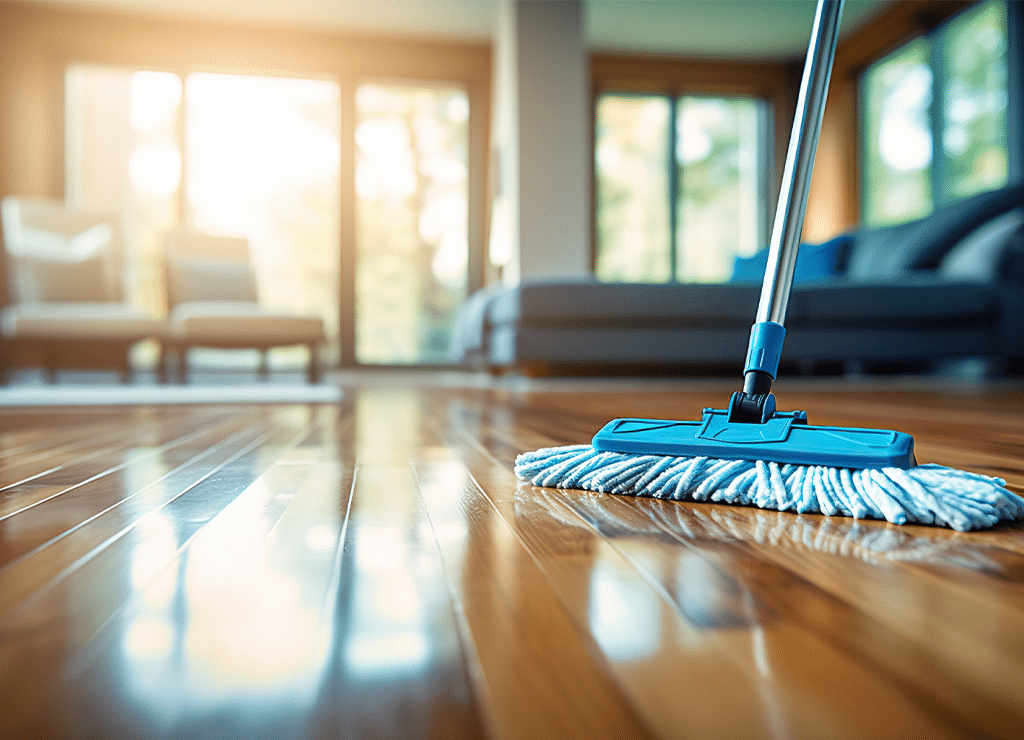
- Vacuum and mop floors: Remove the furniture to vacuum underneath the beds and the lower area of the dressers.
-
Entryway
The entry area generally serves as the first space that people encounter when entering, therefore it should be clean and inviting.

- Wipe doors and doorknobs: With disinfectant or natural cleaner
- Clean or replace doormats: Shake out, wash, or replace your doormat to keep dust and dirt from entering your home
- Organize shoes and coats: Store off-season items and only keep what is currently in use.
- Light switches and banisters: Like many other high-touch areas, it can amass a great deal of grime and germs.
-
Windows and curtains
Windows give your house a great look in natural light, but they attract a lot of dirt and grime as well. You should keep windows and curtains clean to get a beautiful view.
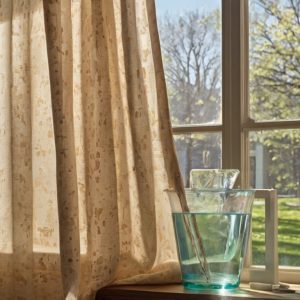
- In and outwash windows: Clean your windows with a vinegar solution or specialized glass cleaner.
- Dust blinds and shades. For grimy blinds and shades, sweep with a microfiber cloth and take off the dust.
- Wash or vacuum curtains. Fresh curtains can brighten up a room in no time.
-
Outdoor Spaces (If Applicable)
For spring cleaning, tidy up the outdoor space if you have a patio, porch, or garden.

- Beachten Sie bei patios and porches: Let’s clean through the leaves, dirt, and debris
- Clean outdoor furniture: Use warm water combined with soap to wipe outdoor tables, chairs, and home ornaments
- Cleat gutters: Let’s remove leaves and debris in a manner that clogs won’t cause damage
- Organize garage or storage: Sort seasonal things and winter equipment.
Last Tips for a Stress-Free and Successful Spring Cleaning
- Do more than you can chew: This is not a one-day activity, so divide your spring cleaning list into sections or days.
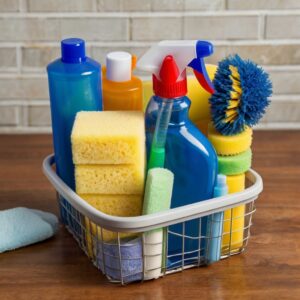
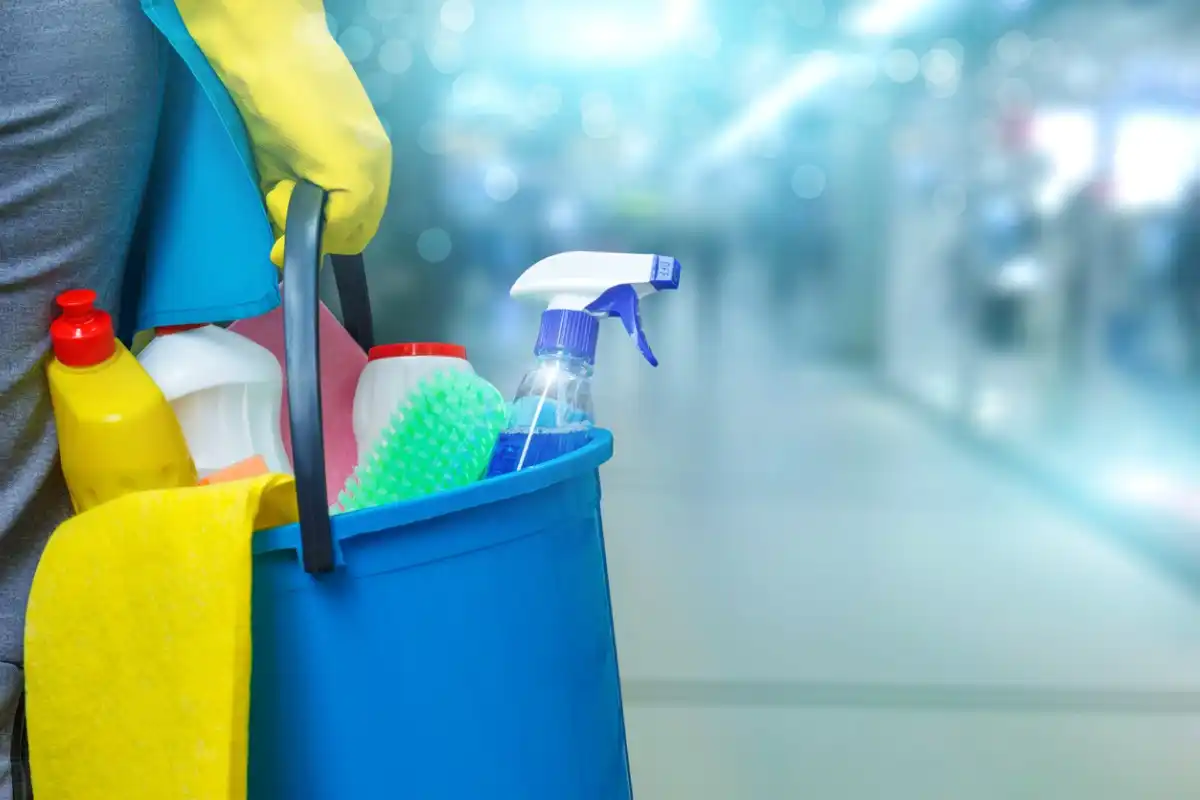
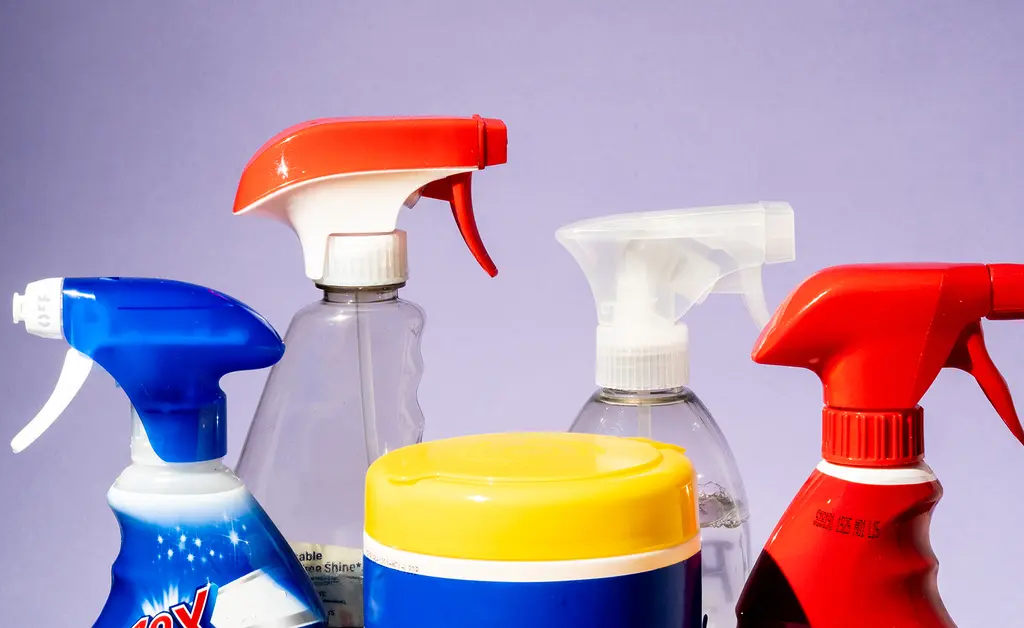
- Use natural cleaners: To go green while cleaning, use vinegar, baking soda, and lemon juice instead.
- Regularly clean and declutter: Decluttering is included in cleaning. Throw out things you don’t use
- Habit: Spring cleaning might not be that hard if it becomes a regular habit
As you set out to work on each room in the house and have it looking fresh and organized, this DIY spring cleaning checklist of yours is all set. This step-by-step guide avoids missing any details so you can bring out a neat, warm welcoming spot for warmer months. So, do take your gloves and cleaning supplies and start this rewarding journey to a cleaner, happier home.