Gardening for Beginners: 12 Tips for Growing Your Own Food
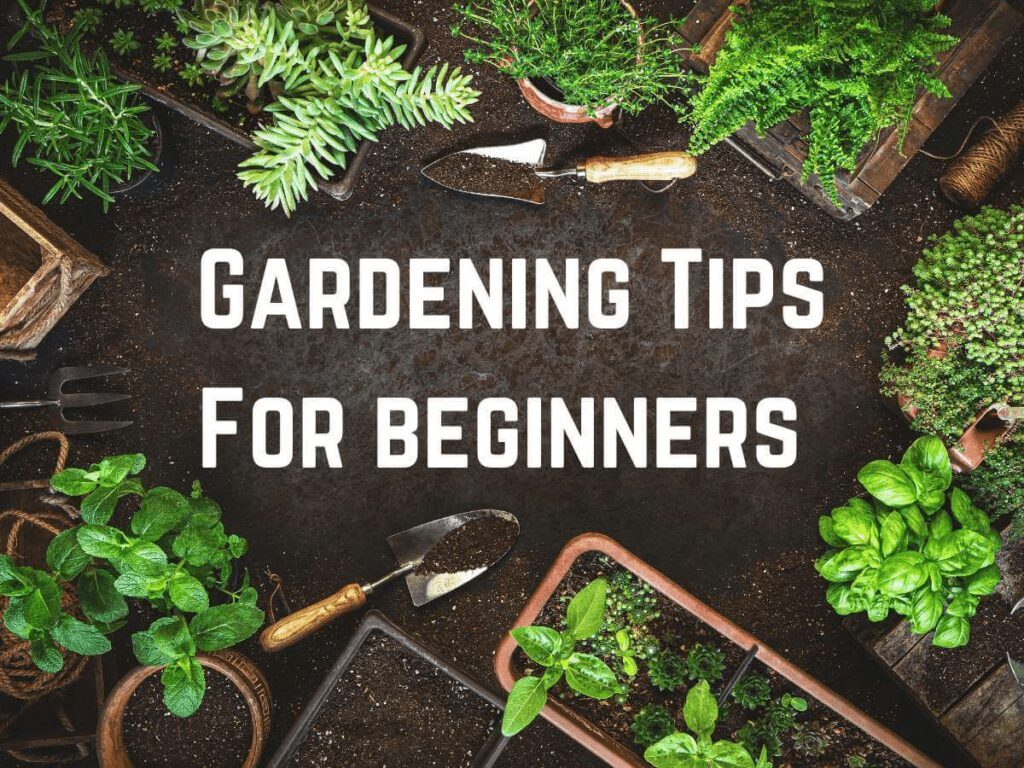
Are you a novice gardener with a strong desire to immerse yourself in the world of gardening and cultivate your own nourishing produce? If so, you’ve landed in the perfect place. This comprehensive guide will take you on a deep dive into the art of gardening for beginners. Armed with these 12 Tips for Growing Your Own Food, you’ll soon be on your way to cultivating a thriving garden that yields delicious fruits and vegetables right at your doorstep.
Gardening isn’t merely a hobby; it’s a journey of discovery, a communion with nature’s wonders, and a testament to the beauty of self-sufficiency. The rewards of growing your own food extend beyond the taste of a freshly picked tomato or a crisp cucumber. It’s a journey that fosters patience, understanding, and a profound connection with the earth beneath your feet. So, let’s embark on this remarkable voyage of cultivation, and together, we’ll explore the essential principles of gardening for beginners. You can also book professional gardening services.
1. Know Your Location:
Understanding your unique gardening location is the foundational step toward gardening success. Start by delving into the specifics of your local climate and growing conditions. Different plants thrive in different zones, so identifying your gardening zone is key. This knowledge will enable you to create a planting calendar that aligns with your region’s climate, ensuring your plants have the ideal conditions for robust growth. Additionally, knowing the average last frost date in your area is crucial, as an untimely frost can spell trouble for your plants early in the season.
Your gardening zone isn’t just a number; it’s a roadmap to your gardening adventure. It tells you when to sow your seeds, when to transplant your seedlings, and when to expect that first delightful harvest. To find your zone, consult the USDA Plant Hardiness Zone Map or a local gardening resource. Once you’ve pinpointed your zone, you can tailor your gardening plans to suit your unique climate. Gardening in harmony with your environment is the first step toward a thriving garden, and this knowledge is the compass that guides you on your journey.
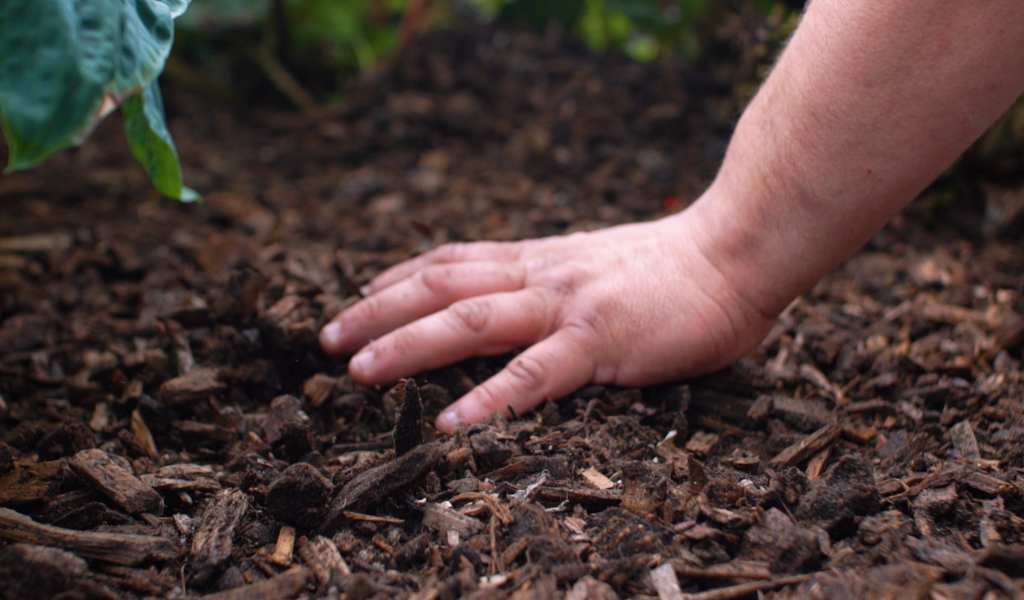
2. Analyze Your Soil:

Soil quality is a cornerstone of successful gardening. Begin by conducting a thorough soil analysis to decipher its composition. If you find that your soil has a high clay content, consider enriching it with topsoil, organic fertilizer, or plant food to bolster seed germination and root development. Alternatively, opt for raised garden beds or containers, granting you greater control over the soil type you use. These measures guarantee that your plants are rooted in the most conducive growing conditions.
Soil isn’t just the backdrop for your garden; it’s the very foundation of life for your plants. The better you understand your soil, the better you can cater to your plant’s needs. Start by taking a soil sample and sending it to a local agricultural extension office for analysis. This will provide you with crucial insights into your soil’s pH, nutrient levels, and texture. Armed with this information, you can make informed decisions about soil amendments and fertilizers. Remember, healthy soil leads to healthy plants, and healthy plants yield abundant harvests. Your soil is the canvas on which your garden masterpiece will flourish.
3. Embrace Composting:
Composting is more than just an eco-friendly practice; it’s a powerful way to elevate soil health while simultaneously reducing food waste. The key to successful composting is achieving a balance between “brown” materials, such as dried leaves and sticks, and “green” materials, such as lawn clippings and newspaper, along with coffee grounds and tea leaves. Remember to steer clear of adding citrus, meat, dairy, or animal products, as these can attract unwanted pests and slow down the composting process. To expedite decomposition, chop up larger food scraps, introduce potting soil and water, and turn your compost pile regularly. With diligence, you’ll harvest nutrient-rich compost in approximately six weeks.
Composting is a celebration of nature’s recycling system, where waste transforms into fertility. It’s the alchemy of the garden, turning kitchen scraps and yard debris into black gold. When you compost, you not only reduce landfill waste but also enrich your soil with a smorgasbord of nutrients. Your compost pile becomes a bustling ecosystem, teeming with beneficial microorganisms that break down organic matter. As the ingredients meld and decay, they undergo a miraculous transformation into a dark, crumbly substance that’s every plant’s dream. This “black gold” is your secret weapon for growing thriving, vibrant plants that yield abundant harvests.
4. Source Quality Seeds:
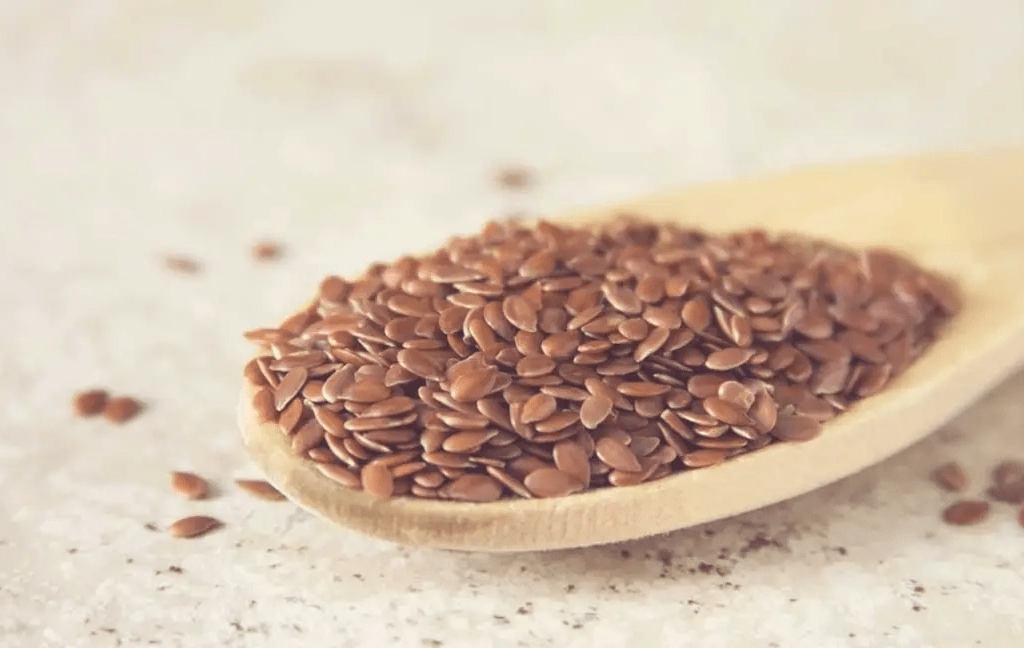
Selecting top-notch seeds is paramount for a flourishing garden. While you can readily find affordable seed packs at local stores, don’t hesitate to explore online options offering specialty, organic, or unique seeds that align with your gardening preferences and aspirations. Customizing your seed selection ensures that you can cultivate the fruits and vegetables you hold dear.
Seeds are the promise of tomorrow’s harvest, and choosing the right ones sets the stage for success. When you peruse seed catalogs or browse online seed stores, you’ll encounter a dazzling array of choices, from heirloom varieties with centuries of history to innovative hybrids designed for specific traits. Each seed is a tiny package brimming with potential, waiting for the right conditions to burst forth with life. As you embark on your gardening journey, consider the flavors, colors, and textures that ignite your culinary imagination. Whether you dream of juicy, sun-ripened tomatoes or plump, sweet strawberries, the seeds you select will transform those dreams into reality.
5. Tips for Growing Your Own Food to Master Planting Timing:
Tips for Growing Your Own Food for Timing is an art in the world of gardening. To give your plants an auspicious start, initiate the process by sowing seeds indoors during the early spring months. This strategic timing ensures that your plants enjoy the warmth they need for initial growth. Be vigilant about maintaining proper watering and ensuring that your indoor seedlings bask in ample sunlight. Seek out seed containers designed to facilitate a seamless transition from indoor to outdoor environments, simplifying the process for your plants.
Planting timing isn’t just about following a calendar; it’s about syncing with the rhythms of nature. In the dance of the seasons, your plants have their cues, and your role is to play the conductor. As winter melts into spring, the earth awakens, and it’s time to start your seeds. But it’s not a one-size-fits-all affair; each plant has its tempo. Some, like tomatoes and peppers, require a head start indoors to ensure they’re robust enough to face the outdoor elements. Others, such as peas and lettuce, are cool-season performers, thriving in the brisk days of early spring. By attuning yourself to these natural rhythms, you’ll orchestrate a garden symphony that unfolds in perfect harmony.
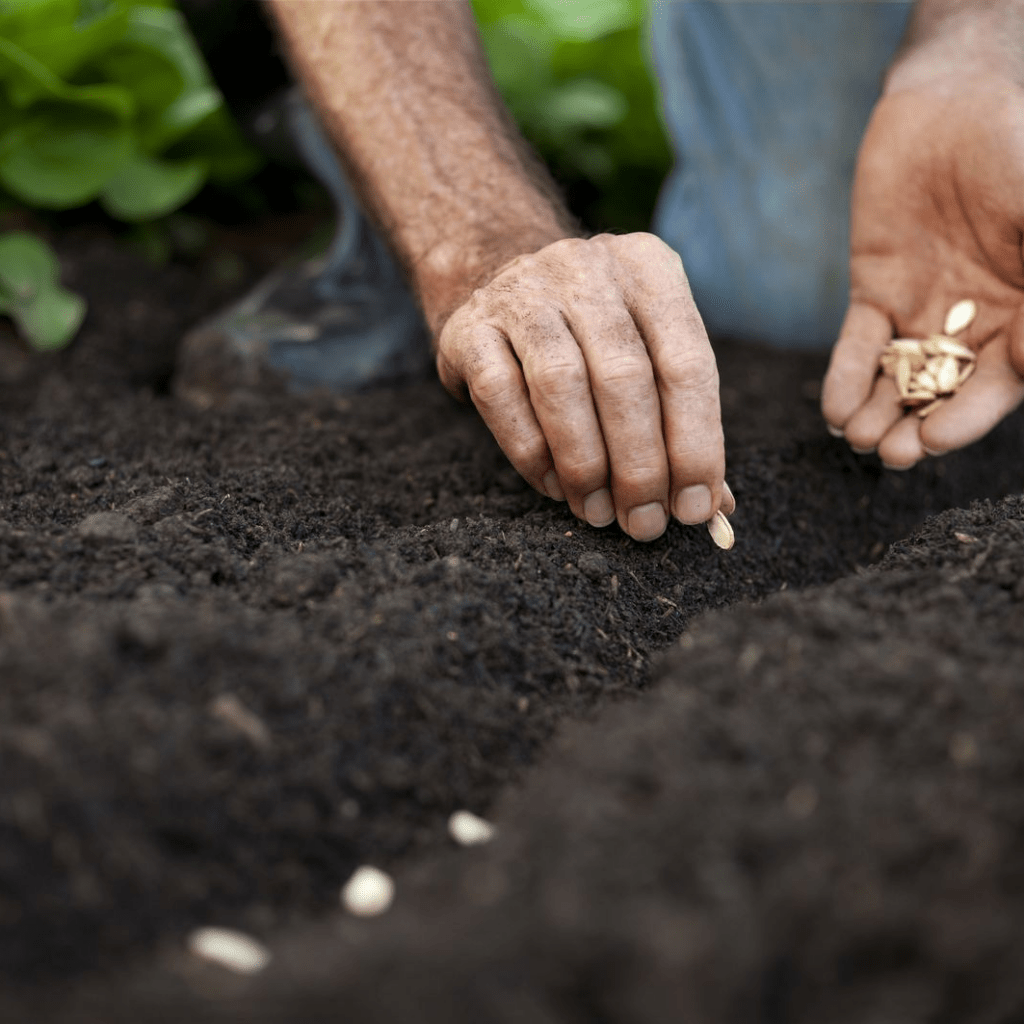
6. Tips for Growing Your Own Food and Handling Plant Transfers with Care:
Transplanting young plants from containers to the open ground demands a gentle touch. Choose a day when the soil is moist and pliable to minimize the risk of damaging delicate roots. When you extract plants from their containers, exercise caution to preserve their tender roots. As you plant them in the ground or pots, provide a generous covering of potting soil and ensure a thorough watering to encourage robust root establishment in their new home.
Transplanting is a transformative moment in your plants’ lives, akin to sending them off to college or a new job. It’s a rite of passage, a step toward independence, and it’s your duty to ensure their safe transition. When you gently cradle those seedlings in your hands and nestle them into the earth, you’re granting them a new beginning. Your care and attention at this critical juncture will determine how well they adapt to their surroundings. So, take a deep breath, whisper words of encouragement, and let your plants take root in their new home.
7. Tips for Growing Your Own Food and Explore Hydroponic Gardening:
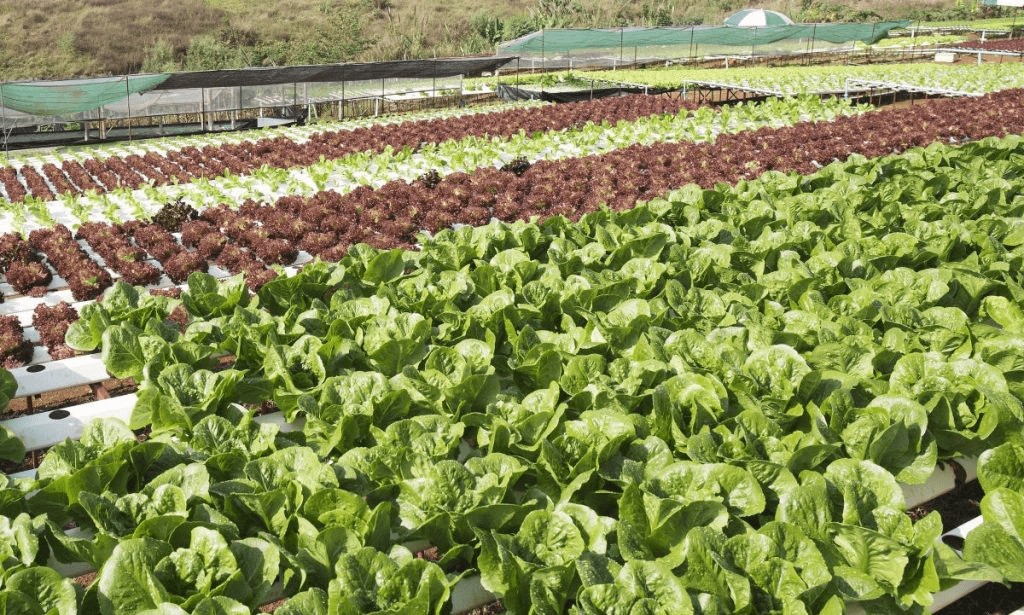
Tips for Growing Your Own Food For Hydroponic gardening, a soil-free approach to plant cultivation that relies on nutrient-rich water, has been gaining popularity among gardeners with limited outdoor space. It offers an innovative and flexible method for growing vegetables and herbs, making it an exciting avenue for both novice gardeners and experienced horticulturists.
Hydroponics is a departure from conventional soil-based gardening, a futuristic leap into a world where plants thrive without ever touching the earth. In a hydroponic system, plants are suspended in a nutrient-rich solution that provides all the essential elements they need for growth. This controlled environment eliminates the variables associated with soil and allows for precise management of plant nutrition. Hydroponics isn’t just a space-saving solution; it’s a fascinating journey into the science of plant growth. As you explore this method, you’ll unlock the secrets of nutrient balance, pH management, and water oxygenation, becoming a gardener of the future.
8. Tips for Growing Your Own Food for Considering Starter Plants:
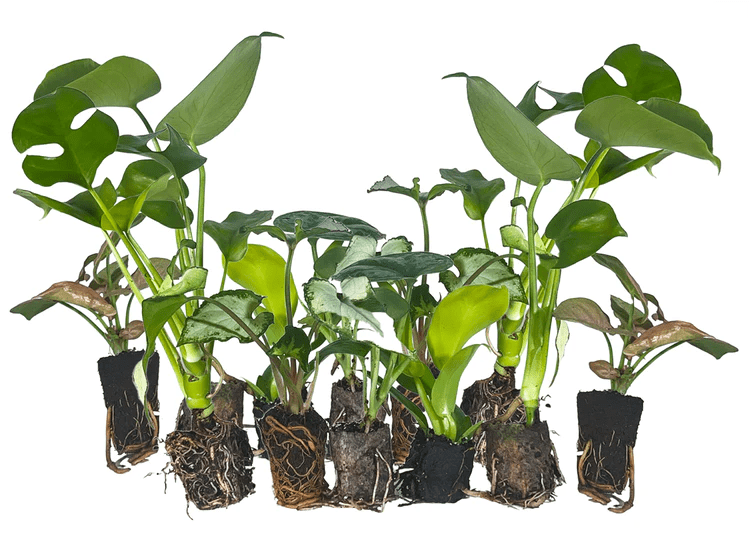
Tips for Growing Your Own Food: If the prospect of starting from seed feels daunting or you seek a head start, contemplate acquiring baby plants from local greenhouses or farmers’ markets. This strategy guarantees that you commence your gardening adventure with vigorous, healthy plants and permits you to explore a broader spectrum of crops. It’s an excellent option, particularly if you’re new to gardening and desire a more straightforward approach to get started.
Starter plants are like the jump-start cables for your garden; they infuse energy and vitality from the get-go. By adopting young plants that have already weathered the delicate seedling stage, you skip the initial challenges and focus on nurturing their growth. Local greenhouses and farmers’ markets often feature an array of starter plants, from heirloom tomatoes to fragrant herbs. These resilient little pioneers are ready to take root in your garden and reward your efforts with a fruitful harvest. So, let these starter plants be your companions on this gardening expedition, guiding you through the seasons with their steady growth.
9. Tips for Growing Your Own Food Ponder a Greenhouse:
Tips for Growing Your Own Food For individuals residing in colder climates or those intrigued by the notion of experimenting with plants that fall outside their typical growing zone, a greenhouse can be an invaluable asset. Greenhouses come in various sizes, from compact structures suitable for potted herbs to more extensive installations capable of housing multiple rows of plants. Whether you opt for local retailers or explore online options, you’re sure to find a greenhouse that aligns perfectly with your specific gardening requirements.
A greenhouse is your garden’s sanctuary, a haven where the growing season knows no bounds. Inside this protected microcosm, you wield the power to defy the limitations of your external environment. As winter’s frost descends, your greenhouse remains a cocoon of warmth, nurturing tender plants through the harshest of seasons. Here, exotic fruits, tropical flowers, and delicate herbs thrive alongside your traditional garden favorites. Your greenhouse is a place of experimentation, where you can push the boundaries of what’s possible in your region. So, if you’ve ever dreamed of savoring homegrown citrus in a snowy landscape or nurturing orchids in the heart of winter, a greenhouse is your ticket to this botanical wonderland.
10. Try Radishes and Mixed Greens:
Tips for Growing Your Own Food: If you’re in search of a swift and gratifying start to your gardening expedition, consider planting radishes and mixed greens. These particular plants typically sprout within a mere 4 to 7 days, offering swift returns on your gardening investment. Radishes introduce a delightful peppery zest to salads. It can be pickled for preservation, roasted to perfection, or incorporated into a range of delectable dishes. Mixed greens furnish a continual supply of nutritious side dishes throughout the summer season, making them an appealing choice for beginners.
Radishes and mixed greens are your garden’s overture, a quick and delightful introduction to the world of homegrown produce. Within days of planting, you’ll witness tiny green shoots emerging from the soil, a testament to the power of nature’s resilience. Radishes, with their crisp texture and peppery bite, add a burst of flavor to salads and sandwiches. Meanwhile, mixed greens bestow a symphony of colors, textures, and tastes to your culinary creations. These plants are your allies in the quest for immediate gratification, offering the joy of harvesting in mere weeks.
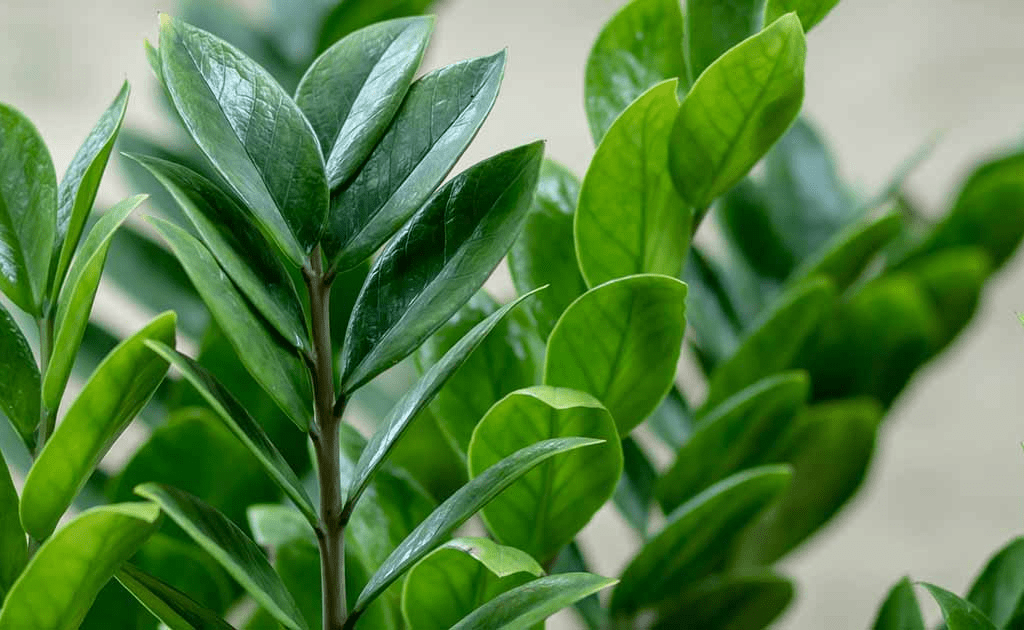
11. Tips for Growing Your Own Food Begin with Herbs:
Tips for Growing Your Own Food: Embarking on your gardening voyage with herbs is an astute choice for novice green thumbs. Herbs are renowned for their resilience, versatility, and ability to thrive in both indoor and outdoor settings. Once these herbs take root, they typically require minimal maintenance to flourish. Moreover, you can preserve surplus herbs by drying or freezing them for later culinary endeavors. Consider crafting herb-infused olive oil as a delightful way to infuse your dishes with vibrant flavors.
Herbs are the poets of your garden, infusing every meal with the essence of the seasons. When you cultivate herbs, you become a flavor alchemist, harnessing the power of leaves, stems, and blooms to elevate your culinary creations. The beauty of herbs lies in their accessibility. Whether you have a garden plot or a windowsill, you can nurture these aromatic wonders. From the sweet embrace of basil to the robust depth of rosemary, each herb offers a unique sensory experience. With every snip of fresh herbs, you transform everyday dishes into gourmet delights. So, let your herb garden be a source of inspiration and a canvas for your culinary artistry.
12. Explore Grow Kits:
Tips for Growing Your Own Food: Should you still find yourself uncertain about where to commence or what crops to nurture, embrace the convenience of a grow kit. These pre-assembled kits come equipped with everything you require to initiate your gardening odyssey, streamlining the process and making it an enjoyable and accessible endeavor. Whether you’re a neophyte in the world of gardening or simply desire a hassle-free approach to begin, grow kits offer a straightforward gateway to cultivating your own food.
Grow kits are your garden’s “easy button,” a shortcut to green-thumb success. Inside these neatly packaged bundles, you’ll discover the essentials: soil, seeds, containers, and instructions. It’s a foolproof recipe for gardening, designed to eliminate the guesswork and streamline your journey. Whether you’re a busy urbanite with limited time or a parent looking for an engaging family project, grow kits are your go-to solution. As you open the kit and sow those first seeds, you’re embarking on a journey that promises growth, discovery, and the joy of nurturing life. Let these kits be your companions on this adventure, guiding you toward the bountiful harvest that awaits.
Conclusion:
You’ve now armed yourself with a wealth of knowledge and invaluable tips to launch your gardening adventure as a beginner. Gardening isn’t merely a hobby; it’s a journey of growth, connection, and self-sufficiency. As you embark on this remarkable voyage, you’ll witness the magic of nature unfold in your garden. From the first sprouting seed to the bountiful harvest, each moment is a testament to the power of patience and nurturing. So, roll up your sleeves, gather your gardening tools, and commence the exciting journey of growing your own food. Happy gardening!
FAQS
In most regions, early spring emerges as the optimal window for commencing outdoor planting, characterized by frost-free conditions and warming soil.
Absolutely! Many vegetables thrive when cultivated in pots or containers, rendering them a versatile choice for gardeners grappling with space constraints. Be sure your containers offer sufficient drainage to keep your plants healthy.
To extend the freshness of your herbs, consider drying them or freezing them in ice cube trays with olive oil. These methods preserve the vibrant flavors of your herbs and allow you to enjoy them year-round.