How to remove paint from walls
Stripping paint off walls is an extremely complex procedure. However, using the right techniques and tools makes the task easy. You need this process when refreshing the house using a new color, correcting a DIY mistake, or restoring an old property.
The art of stripping paint off walls can be quite crucial for anyone. This article gives a comprehensive guide on how to remove paint from walls, covering all that needs to be done, from preparation to cleanup.
Know Your Types of Paint
It is necessary to understand the type of paint you’re working with before looking at ways of removing the paint from your walls. There are two primary types.
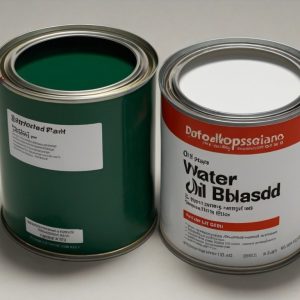
1. Water-Based Paint (Latex Paint): This paint can be removed with soap and water; it dries fast, and this form is less hazardous than its counterpart, oil-based paint.
2. Oil-based Paint: Clean-up needs solvents. This Paint is More long-lasting. Removing paint from the wall can be challenging when oil-based paint is used .. Knowledge of paint type helps in selecting the correct method to be applied along with the right removal products.
Materials Required
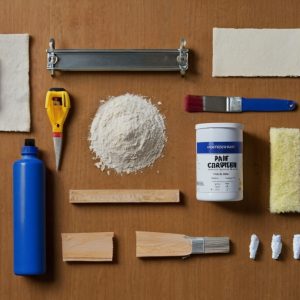
Before proceeding to the procedure of paint removal on walls, make sure to have the following in place:
- Paint Stripper or Remover
- Putty Knife or Scraper
- Sandpaper
- Drop Cloths or Old Newspapers
- Painter’s Tape
- Protective Gear
- Bucket and Sponge
- Warm Water and Mild Detergent
- Rags or Paper Towels
- Optional
Step 1: Preparation of the Area
Preparation is key if you are going to remove paint from walls successfully. Do this:
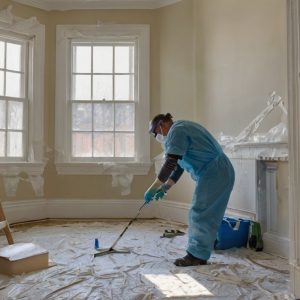
1. Prepare the Room: Remove the furniture and decorations. If you cannot remove everything, cover everything with drop cloths so no dust and debris from the paint will fall there.
2. Tape off the Edges: Mask the baseboards, trim, windows, and any other area you do not want to paint.
3. Protect Yourself: Wear gloves, goggles, and a mask. Protective gear is essential, especially when using chemical strippers, to avoid dangerous fumes and skin contact.
Step 2: Test the Paint
Test a small area before you attempt to remove paint from walls to determine the type of paint and the best removal method
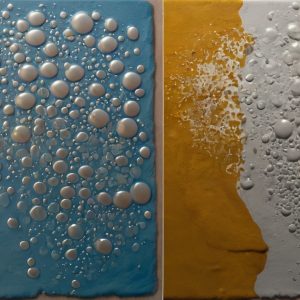
- 1. Scrape off a tiny portion of the paint with a putty knife: If the flakes off easily, you may be able to get it off with sand or water without chemicals.
- 2. Application of solvent: Attempt applying a little paint remover to determine if it softens or just peels off. This way, you can take it further if the paint hardens in a short time and starts peeling off easily when removing paint from walls.
Step 3: Choosing the Appropriate Removal Method
The appropriate removal method depends on the paint and its state. There are some effective methods listed below:
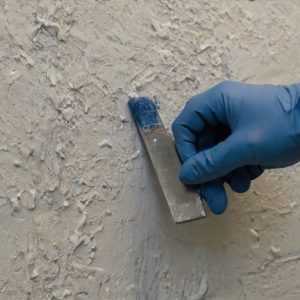
1. For Water-Based Paint:
- a. Washing Method: Mix warm water with mild detergent. Soak a sponge in the solution and gently rub the area. The washing method is appropriate if there are thin layers of paint. Rinse with clean water after applying this method.
- b. Sanding Method: If the paint cannot be removed through washing, you may need to sand it off. Start with medium-grit sandpaper to remove most of the paint, then use fine-grit sandpaper to smooth the surface. Always sand in the direction of the grain for the best results.
2. For Oil-Based Paint:
- a.Chemical Paint Stripper: If the paint is oil-based, use a chemical-based paint stripper. Apply it on the wall and wait for the recommended time usually between 15 to 30 minutes to pass. Use a putty knife to scrape off once the paint starts to form bubbles. Do not harm the wall surface.
- b.Heat Gun Method: The heat gun can be very useful to soften oil paint. Hold it about six inches from the wall and move it along the surface until the paint bubbles. Once it’s softened, use a putty knife to scrape off the paint.
Step 4: Cleaning Up After Paint Removal
Once you know how to remove paint from walls, cleaning up afterward is important:

1. Rinse the Surface: Once you have removed all of the paint, clean the wall using warm soapy water to remove stripper residue or dust from sanding; let water wash away any dirt.
3. Clean Up Effectively: Paint and chemical strippers should be disposed of according to the local hazardous waste regulations. Most jurisdictions have instructions on how to deal with hazardous waste.
Step 5: Surface Inspection
Now that the wall is clear of dirt grime and debris, the next step is to inspect it:
- 1. Inspection of surface defects This is the inspection of the surface of the wall for dents, cracks, holes, or scratches that were masked by the coat of paint.
2. Patch as Needed: Fill in small holes with spackling compound or drywall repair tape and once dry, then sand down the area smoothly to be decorative in nature.
3. Prime the Surface: If you are painting over, it is usually a good idea to prime the surface. This is especially true if you have sanded off oil-based paint or are painting over a dark color. Primer allows the new paint to bind better and gives a better finish.
Step 6: Preparing to Paint
With your walls clean and repaired, you can now prepare to paint:
1. Choose Your Paint: Choose a good quality paint that suits you. Decide on the finish, color, and durability.
2. Prepare Your Materials: Have all the painting supplies ready: brushes, rollers, trays, and extra painter’s tape.
3. Plan to Paint: Determine when to paint. The area should be well-ventilated if you are using oil-based paints or primers.
Conclusion
Techniques for removing paint from walls save you time and money while giving you a fresh canvas for the next project. Whether to wash, sand, use a chemical stripper, or apply heat, the right key is to prepare well and be patient. Following these steps will adequately prepare you and ensure the best results in this task.
So, roll up those sleeves, gather your materials, and get ready to transform your walls!

