Having a beauty blender allows one to make exquisite makeup applications. However, a dirty beauty blender quickly becomes a breeding ground for bacteria, leading to skin irritation and breakouts. Therefore, cleaning your beauty blender regularly prolongs its life and ensures you don’t lose all your beauty and healthy skin. Here’s a step-by-step guide how to Clean a Beauty Blender, the best methods for cleaning a beauty blender and some dos and don’ts.
How to Mop Your Floor Like a Pro
Why Should You Keep Your Beauty Blender Clean?
There are some crucial reasons you should ensure your beauty blender is cleaned:
-
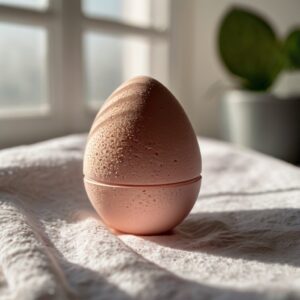
Prevents Bacterial Growth: When applying makeup, natural oils, and even dead cells may collect in the sponge, which is a breeding ground for bacteria.
-
Smooth Makeup Application: With a cleanliness guarantee from your beauty blender, you’ll get smooth blending and applications. Therefore, you will have a professional finish on your makeup.
-
Extend the Life of Your Beauty Blender: Extend the life of your beauty blender by taking good care and proper cleaning of your beauty blender while using it long enough without wearing out.
That being said, let’s look at the different ways to clean a beauty blender, considering the benefits mentioned above.
How Often Must a Beauty Blender Be Cleaned?
Ideally, you want to clean the beauty blender immediately after use, especially if you have sensitive or acne-prone skin. However, that can be challenging. At the very least, clean it deep once a week. The more frequently you clean the beauty blender, the less buildup it will have, making each cleaning session quicker and more effective.
How to Clean Fabric Sofa
Easy Ways to Clean Your Beauty Blender
-
Soap and Water Method
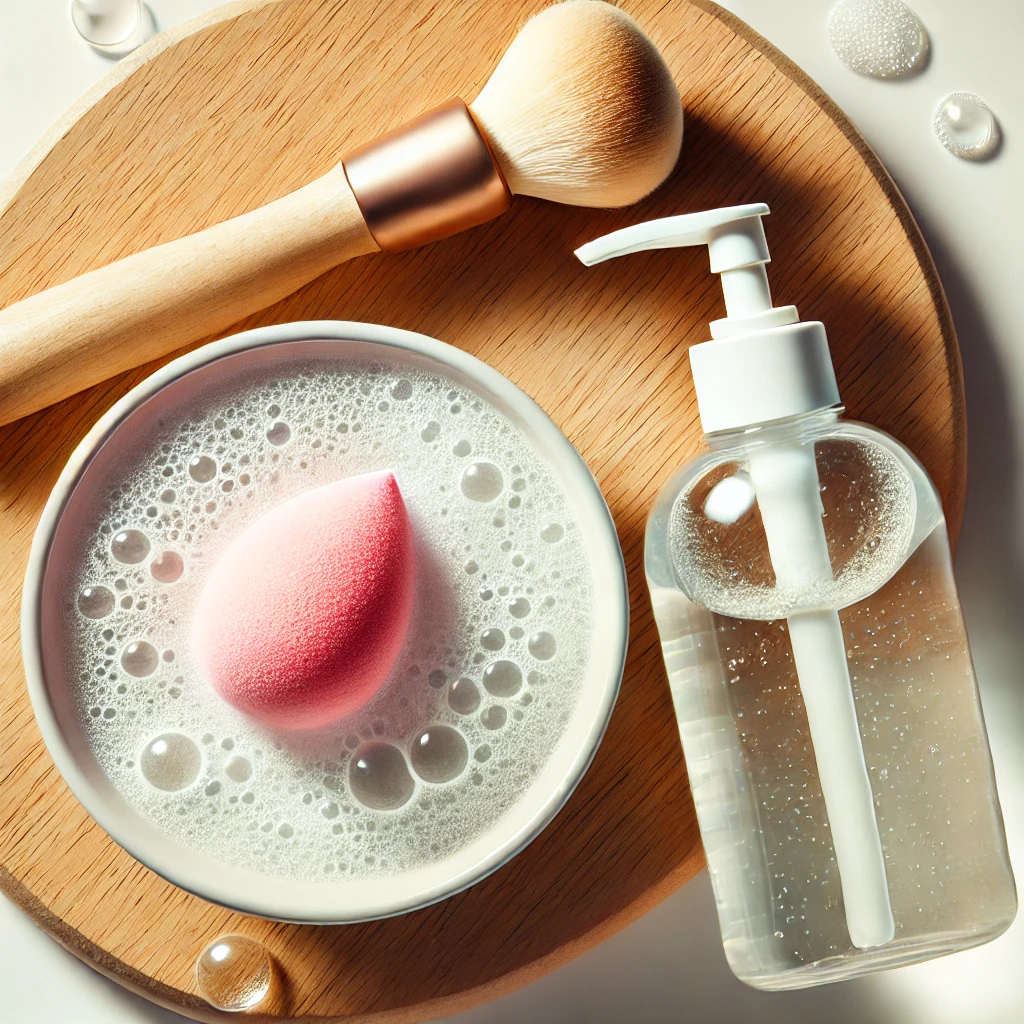
Clean your beauty blender using the soap and water method. Here’s how you do it,

What You Need: Gentle liquid soap or a specific cleanser for beauty blenders and warm running water.
Steps
-
Dip your beauty blender into the warm running water until soaked.
-
Rub a small amount of liquid soap directly onto the sponge.
-
Massage and squish gently the beauty blender. The soap will penetrate into the sponge, and you will start noticing makeup residue coming out.
-
Rinse under warm running water until all soap residue and makeup are removed.
-
Squish extra water and set the beauty blender on a clean, dry towel to air-dry.
Pro Tip: Use a fragrance-free, gentle soap not to irritate your skin.
-
Olive Oil and Soap Deep Cleaning Method
This is the best method if you last cleaned your beauty blender a long time ago or if it has tough stains.
What You Need.
- Olive oil
- Liquid soap
- Warm water
Steps to follow.
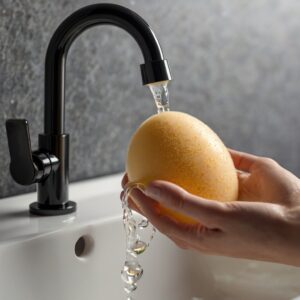
- Dip your beauty blender through with warm water so it’s pretty wet.
- Mix a drop of olive oil with liquid soap in another little bowl.
- Dip your beauty blender in the oil-soap mixture and gently massage. The olive oil makes it easier to break down the oils and remnants of makeup.
- Rinse the beauty blender using warm water to clean the mixture and squeeze out makeup and dirt.
- Continue rinsing until all soap is gone and the water comes out clean.
Tip: Rinse the beauty blender twice to remove all the leftover olive oil that can impact the makeup application.
Spring Cleaning Checklist 2024
-
Microwave Sanitizing
It is quicker yet needs to be used prudently because continuous use shortens the life of the sponge.
- Ingredients:
- Microwave-safe cup, water, and a few drops of liquid soap.
Instructions:
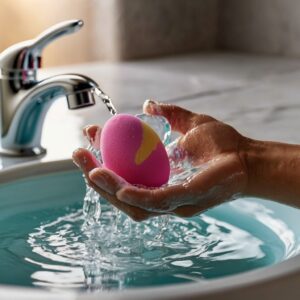
- Fill up a microwave-safe cup with water and add a drop of soap.
- Place your beauty blender in the cup, ensuring it is fully covered.
- Microwave cup for 30 seconds. Do not overheat. Overheating might damage your sponge.
- Cool the cup before you take off your beauty blender
- Rinse under running warm water to prevent soap buildup
Caution: Steaming an unwetted beauty blender could scorch it.
-
Clean Beauty Blender pads or Block Cleaner
Use a beauty blender cleansing pad or solid cleanser for easy cleaning.
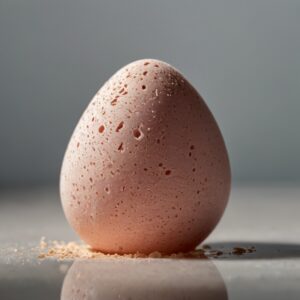
What You Will Need: Beauty Blender Cleansing Pad or Solid Cleanser, Warm Water.
- Step 1: Wet the beauty blender in warm water
- Rub the sponge directly on the solid cleanser or use the cleansing pad to work up some suds into the sponge.
- Rinse warm water until there’s no soap residue. Then, squeeze out the water weakly.
Beauty Blender Cleaning Tips
Air Dry in a Clean Area: Allow your beauty blender to air dry in a clean, open area. Do not place it in dim, enclosed areas where bacteria develop.
Change Frequently: Regardless of how much you clean your beauty blender, there comes a point where you will need to change your beauty blender. Doing this every 3 to 4 months is best to achieve maximum hygiene and effectiveness.
Store it in the case: of the beauty blender while unused To keep it dust and bacteria-free.
Mistakes to Avoid When Cleaning Beauty Blender
Using Harsh Cleansers: Avoid using harsh soaps or fragrances, as these can cause stripping of all your nutrients for the skin and the material for the sponge.
Not Rinse Thoroughly Enough – Soap residue can quickly develop inside your beauty blender if you don’t clean it properly. Clean it thoroughly.
Water Temperature– Beauty blenders have some materials that may be ruined quickly if hot water is used. Try to use lukewarm or warm water instead.
Not Cleaning Regularly – Failure to clean your beauty blender often may make it stained, hard to clean, and less effective with makeup applications.
Conclusion on the Subject of How to Clean a Beauty Blender
You must learn to clean a beauty blender, especially if you’re a makeup enthusiast. Only through proper and frequent cleaning, employing the correct methods, and avoiding some mistakes will a beauty blender remain in good condition and perform its intended work of creating smooth, flawless makeup applications. Remember, a clean beauty blender means a cleaner and healthier skin routine!
Clean your beauty blender for a few minutes every time you use it or, if required, clean it within the week, and you will end up lengthening its lifespan and saving it from irritation and even breakouts that bacteria and dirt may cause. So, keep cleaning your beauty blenders as part of your beauty routine – your skin will thank you!
Frequently Asked Questions (FAQs)
- How often should I clean my beauty blender?
Clean your beauty blender after every use or every week for the best result.
- Can I use regular dish soap to clean a beauty blender?
While dish soap may effectively strip off makeup, it is too abrasive to the sponge and skin. There are gentle, skin-safe soaps and special beauty blender cleaners.
- How do I deal with my bad-smelling beauty blender?
When it begins stinking, that tells you it’s getting too much bacteria built up inside it, so get your deep cleaning out using olive oil and soap, then air dry it. After that doesn’t solve the problem, it is probably time to treat yourself to a new one.
- How long does it last?
In this respect, how long a beauty blender lasts depends on the user’s hygiene. The more you use it, the more often you’ll have to clean and store it properly, and you may need to replace it after six months.
In other words, a beauty blender should last 3-4 months if kept well-maintained. It should be replaced if it rips, stains cannot be removed, or the texture has changed.

Leave a Reply